How do you prepare a wall for tile backsplash
Wall Prep For Tile Backsplash
Hey there! If you're planning on sprucing up your kitchen or bathroom with a
tile backsplash, you're in for a treat! Not only can a tile backsplash add a pop of color and personality to your space, but it also serves as a functional and practical addition that protects your walls from water damage and stains.
But before you start sticking tiles onto your walls, it's important to properly prepare the surface to ensure that your tile installation looks great and lasts for a long time. Here are some steps that we, at Madtown Tile Installers, follow to prepare a wall for tile backsplash.
Step 1: Clean the Wall
First things first, you need to ensure that the wall you're going to tile is clean and free of any dirt, grease, or debris. Use a mixture of warm water and mild soap to clean the surface thoroughly. If there are any stubborn stains or residue, you can use a degreaser or a scrub brush to remove them. Allow the wall to dry completely before moving on to the next step.
Step 2: Remove any Obstacles
Before installing the tile, make sure that the wall is free of any obstacles that may hinder the installation process. Remove any outlet covers, switch plates, or vent covers from the wall to ensure that the tile can be installed seamlessly. Also, make sure that the wall is level and smooth to provide a stable base for the tile.
Step 3: Apply a Backer Board
Installing a backer board is an important step to ensure that your tile installation stays in place and doesn't crack or break over time. Cut a backer board to fit the dimensions of your wall and attach it to the surface using screws and adhesive. Make sure that the backer board is level and smooth, and allow it to dry completely before moving on to the next step.
Step 4: Mark the Layout
Once the backer board is dry, it's time to mark the layout for your tile installation. Use a level and a straight edge to draw horizontal and vertical lines on the wall to guide the placement of the tiles. This will ensure that your tile backsplash is straight and even.
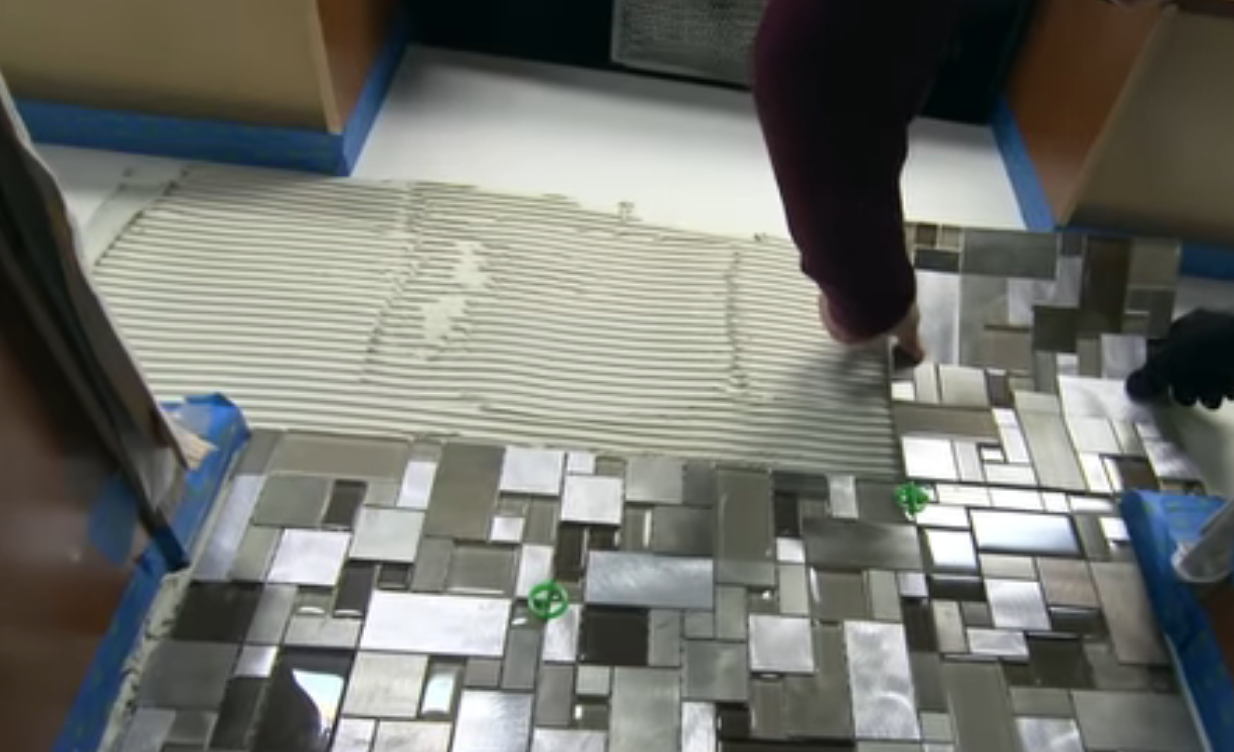
Step 5: Apply the Tile Adhesive
Now it's time to apply the tile adhesive to the wall. Use a trowel to spread the adhesive evenly over a small section of the wall, starting from the bottom and working your way up. Make sure that the adhesive is spread evenly and covers the entire surface of the backer board.
Step 6: Install the Tiles
Once the adhesive is applied, it's time to install the tiles. Place the first tile at the bottom of the wall, along the guideline, and press it firmly into the adhesive. Continue placing tiles along the guideline, using spacers to ensure that the tiles are evenly spaced. Cut tiles to fit around outlets, switches, or other obstacles, using a tile cutter or a wet saw.
Step 7: Grout the Tiles
After the tiles are installed and the adhesive has dried, it's time to apply the grout. Mix the grout according to the manufacturer's instructions and apply it to the tile surface using a grout float. Use a damp sponge to remove any excess grout and smooth the surface. Allow the grout to dry completely before moving on to the final step.
Step 8: Seal the Grout
Once the grout is dry, it's important to seal it to protect it from moisture and stains. Use a grout sealer and apply it to the surface of the grout using a brush or a roller. Allow the sealer to dry completely before using the tiled surface.
That's it! By following these steps, you can prepare your wall for a beautiful and long-lasting tile backsplash. And if you're not confident in your DIY skills or simply don't have the time, don't hesitate to give us a call at Madtown Tile Installers. We specialize in tile installation and can help you achieve the look you want for your kitchen or bathroom. We serve the greater Madison area and would love to hear from you.
Like The Content? Feel Free to Share...